
How to set up Internet Identity - The Internet Computer’s authentication system

When logging into any dApp on the Internet Computer that supports the Internet Identity, you will be redirected to an Internet Identity screen. You can also access the screen from here. The Internet Identity is a blockchain authentication framework supported by the Internet Computer that allows users to access dApps securely and anonymously and empowers users to authenticate themselves without the need for usernames or passwords (learn more about the Internet Identity from me here).
Creating an Internet Identity
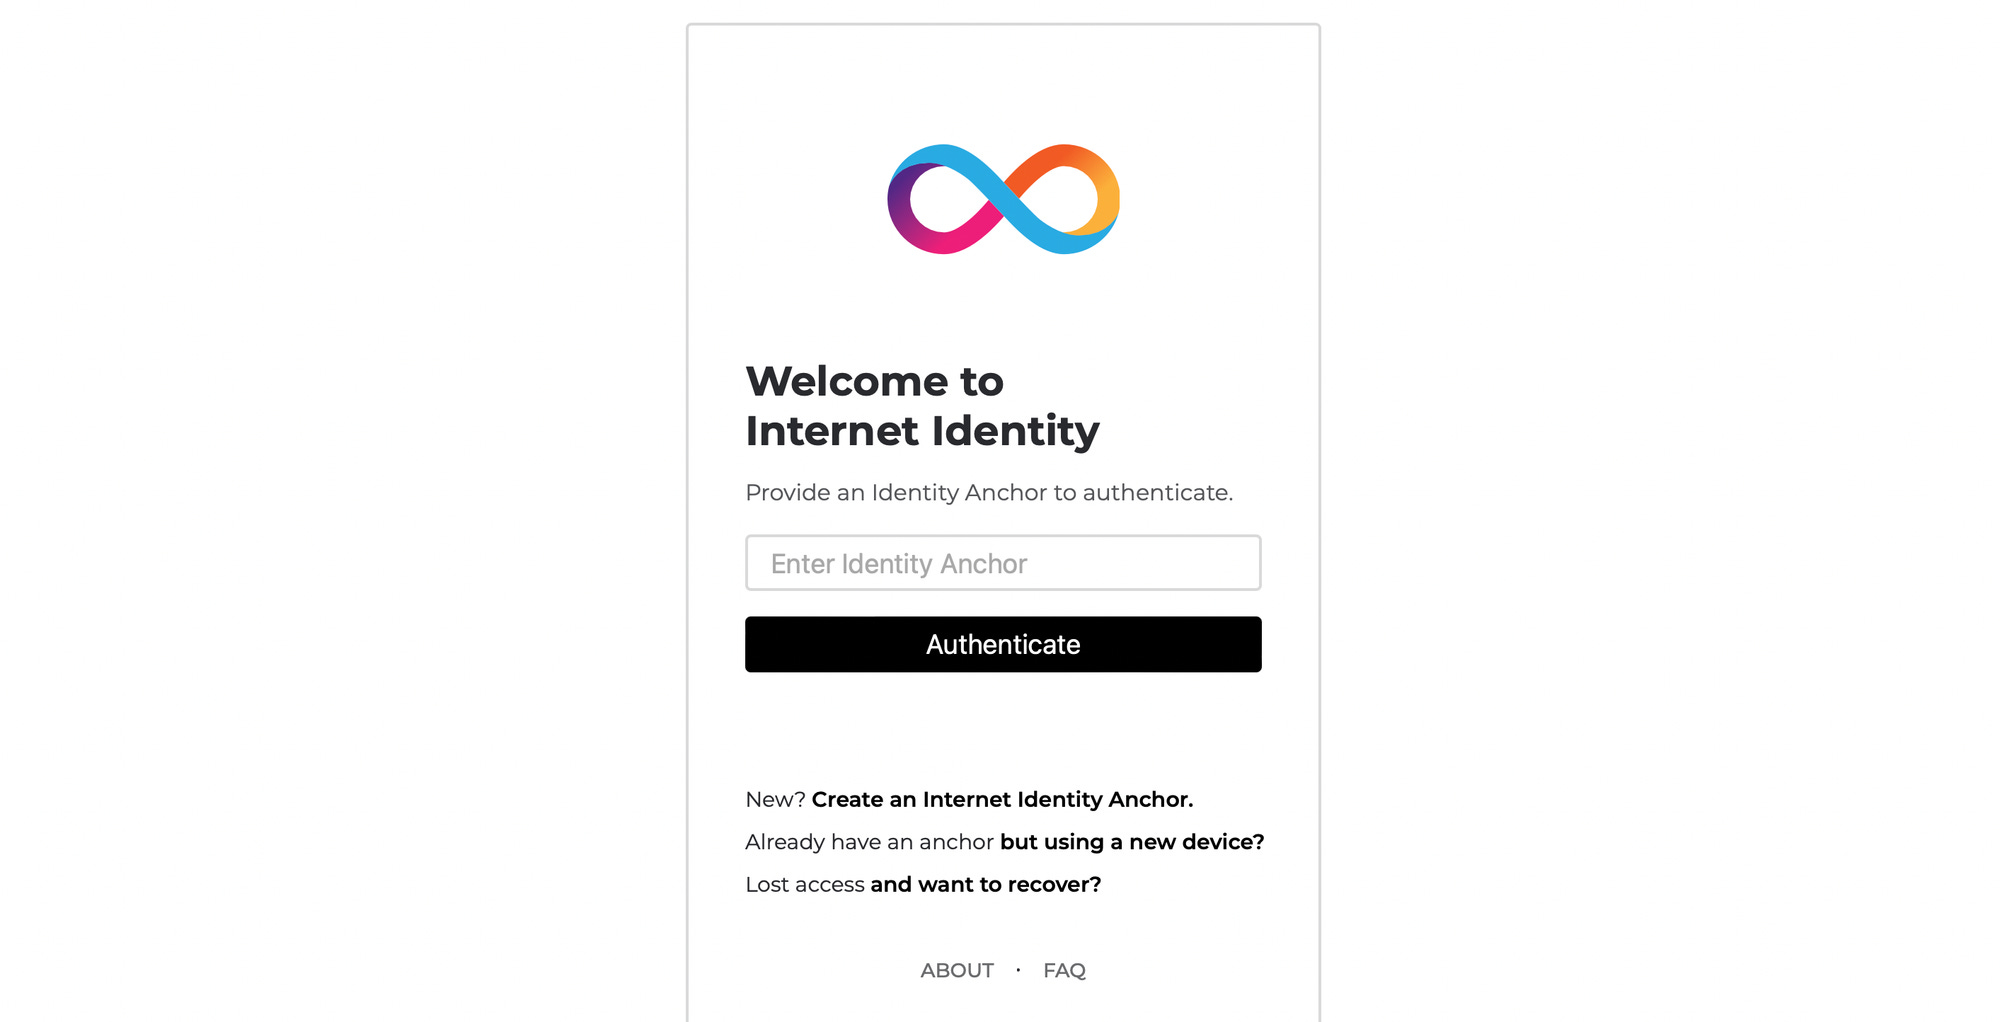
You will be welcomed with a screen prompting you to enter your Identity Anchor. To create an identity anchor, select Create an Internet Identity Anchor.
You will have to do this on a device that offers a method of authentication that Internet Identities can work with. The available authentication methods are:
Fingerprint Sensor on Smartphones/Laptops
Face ID
Hardware security keys (for example YubiKey or Ledger wallet)
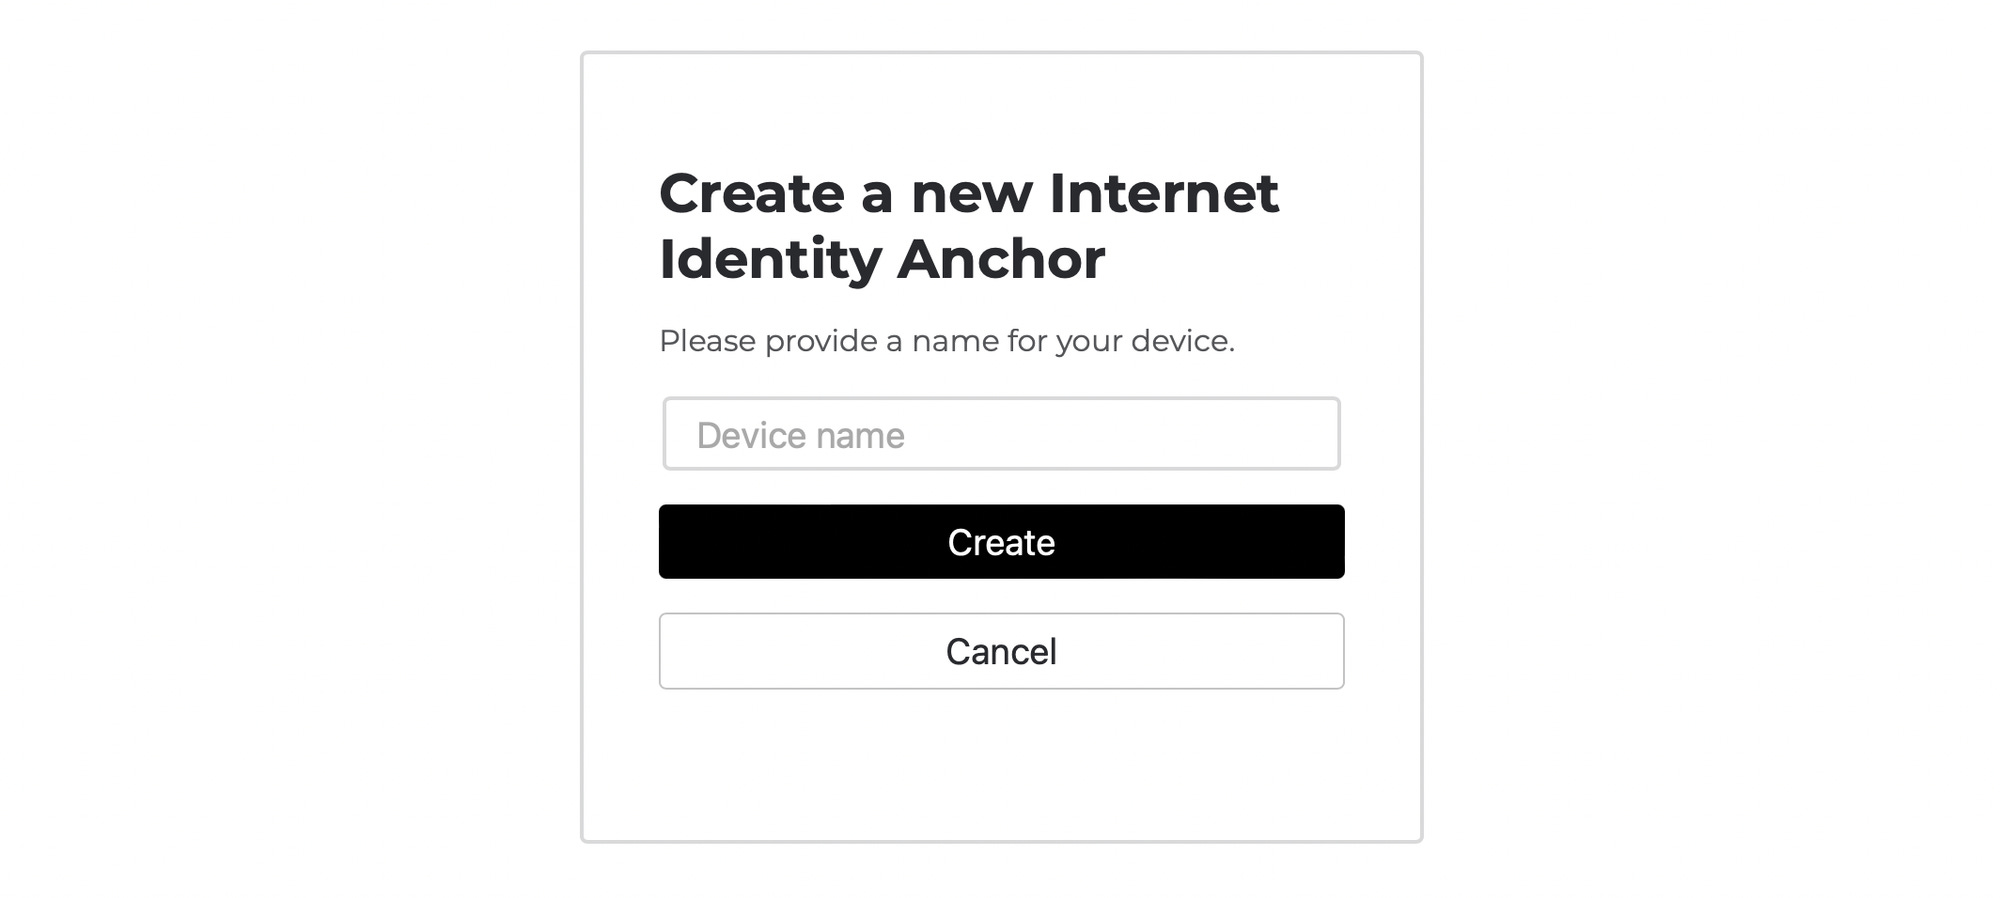
1. Enter a Device Name
You will be prompted to provide the name of the device on which you are generating the anchor. This can be any name you choose, so you will be able to differentiate incase you have multiple devices later on.
2. Grant access
After entering the device name, your device will ask you to allow "identity.ic0.app" to use either a dedicated security key, or an authentication method of the device you are using.
In this case, I am using Safari on a laptop with integrated fingerprint biometrics!
3. Solve Captcha
Once you grant access, you will be redirected to solve a captcha. After solving this, you will be prompted to choose an account to sign in to "identity.ic0.app". If you are registering for the first time you can select to sign in with the Passkey (which was generated and is stored on your device) otherwise you can choose to sign in with an external security key. After that, you will be redirected to a screen which displays your newly created identity anchor! Note that on this screen there is a suggestion to record your identity anchor number. This is the number that you will need to enter to authenticate to dapps running on the IC.
4. Add recovery mechanism
After creating your identity anchor, you will be directed to a page that allows to add a recovery mechanism. It’s highly recommended not to skip this step, because incase your browser history is cleared, your authentication keys will be deleted from your device. After selecting this option, you are given two choices for adding a recovery mechanism:
Seed phrase
This generates a cryptographically-secure seed phrase that you can use to recover an identity anchor. Write it down (preferably on paper) and store it in a safe and secret place. Do not lose it or share it with anyone! Anyone who knows the seed phrase will be able to take full control of your identity anchor.
The first string in your seed phrase is the identity anchor. This is needed to begin the recovery process.
Security key
You can also use a dedicated security key to recover an identity anchor in the event that you lose access to your authorized devices. This key must be different from the ones you’re currently using to authenticate your Internet Identity. Keep the key somewhere safe and hidden. Anyone in possession of the security key will be able to take full control of your identity anchor.
With this option you will need to know the identity anchor to begin recovery.
It’s advised to not skip this step, unless you are sure that you will not need to remember this anchor.
That’s it! You have now successfully created an Internet Identity and added a recovery mechanism to it. Now, try logging into the NNS (The Network Nervous System of the Internet Computer) with your Internet Identity here.
📝 All these opinions are my own and do not constitute financial advice in any way whatsoever. Nothing published by the site or the services constitutes an investment recommendation, nor should any data or content published be relied upon for any investment activities.