
How to use the NNS - a guide to the Internet Computer
The NNS allows the Internet Computer blockchain to be able to update itself and evolve and manage its network in real time. Here's a step by step guy on how to use it!

Logging into the NNS
You can access the NNS here.

When clicking the NNS login button, you will be redirected to an Internet Identity screen where you can either login if you have an identity anchor, or create a new one if you don't. The Internet Identity is a blockchain authentication framework supported by the Internet Computer.
If you have already used the Internet Identity, enter your Identity Anchor and sign in.
If you have never used the Internet Identity follow my guide to set it up.
Funding Account
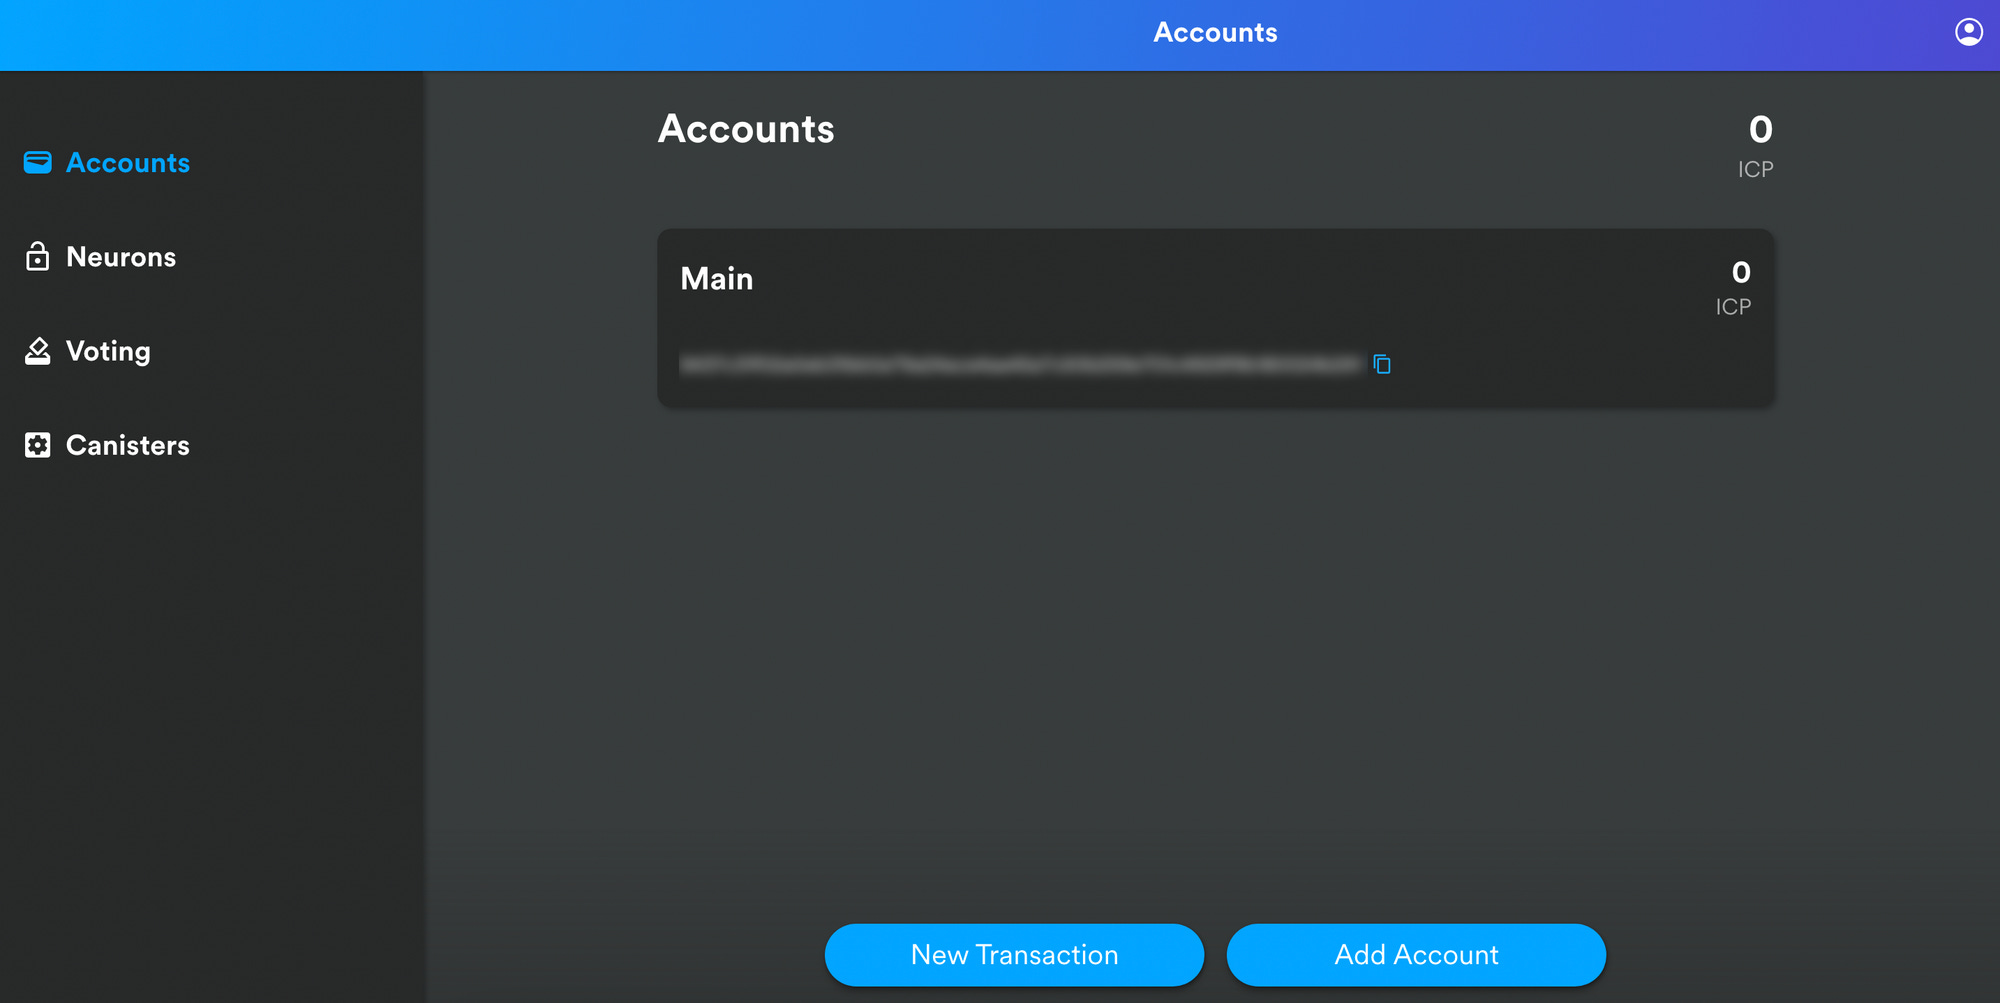
In the Account section, you will find your wallet address from the NNS. You can send your ICP you purchased from an Exchange or your Plug Wallet to this address. After transferring your tokens you will be able to see the tokens deposited in your NNS account here. The NNS frontend dapp is now your custody solution.
Staking your ICP in a Neuron
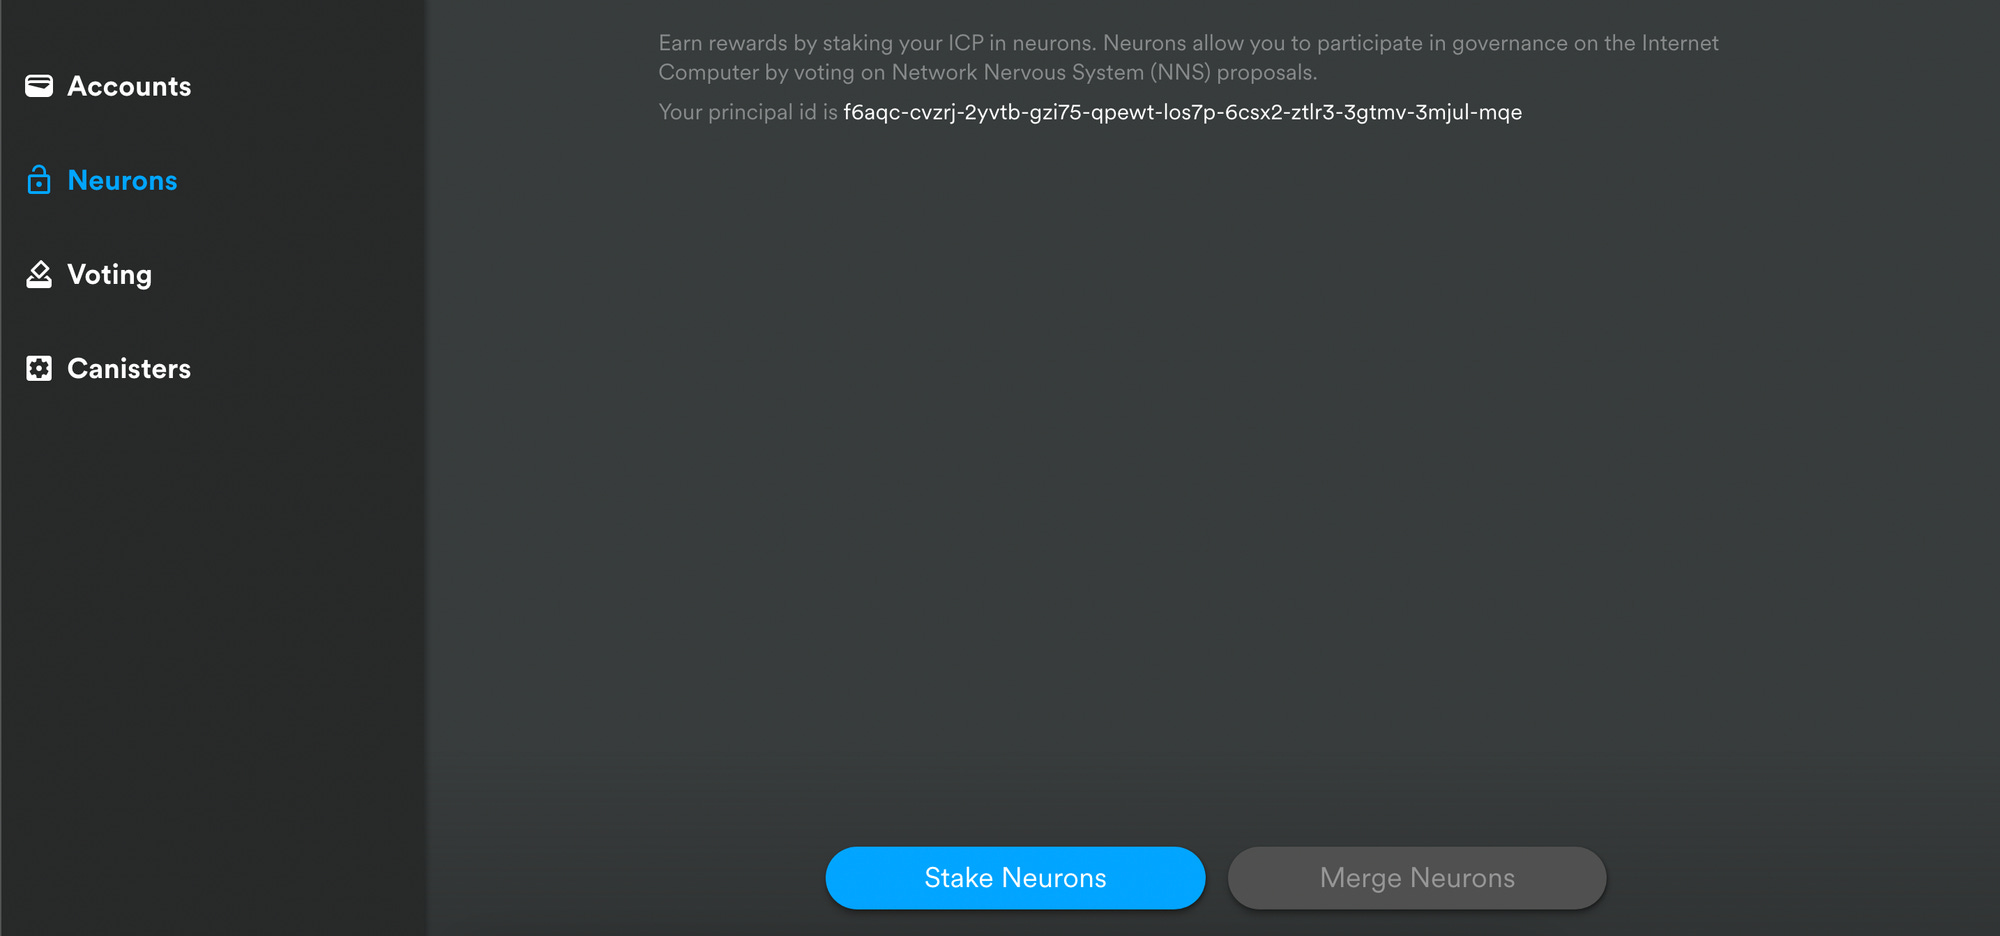
Click the Neurons tab then click Stake Neurons.
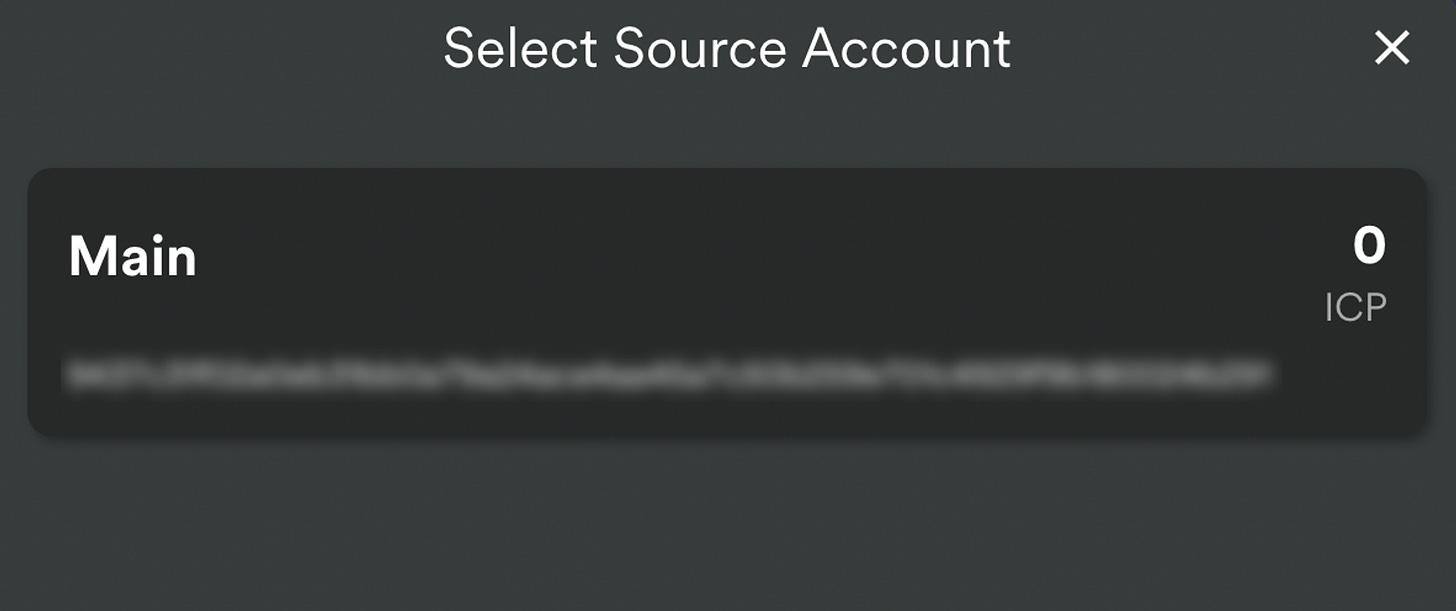
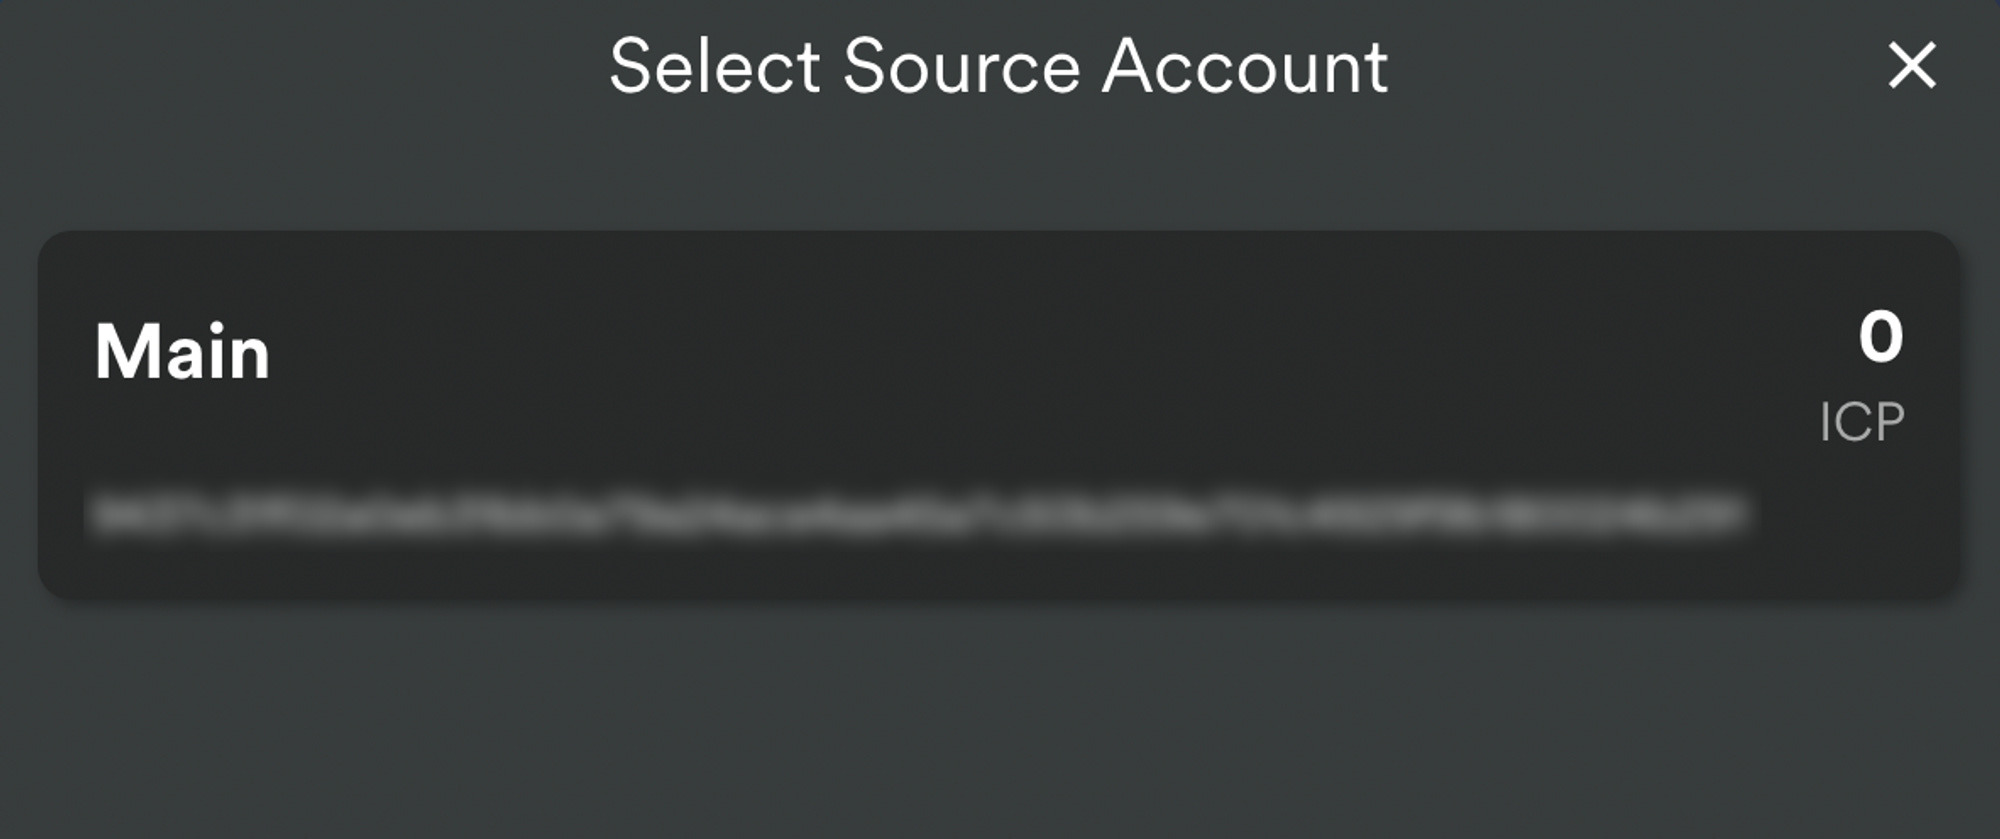
Select your Source Account (in most cases your Main).
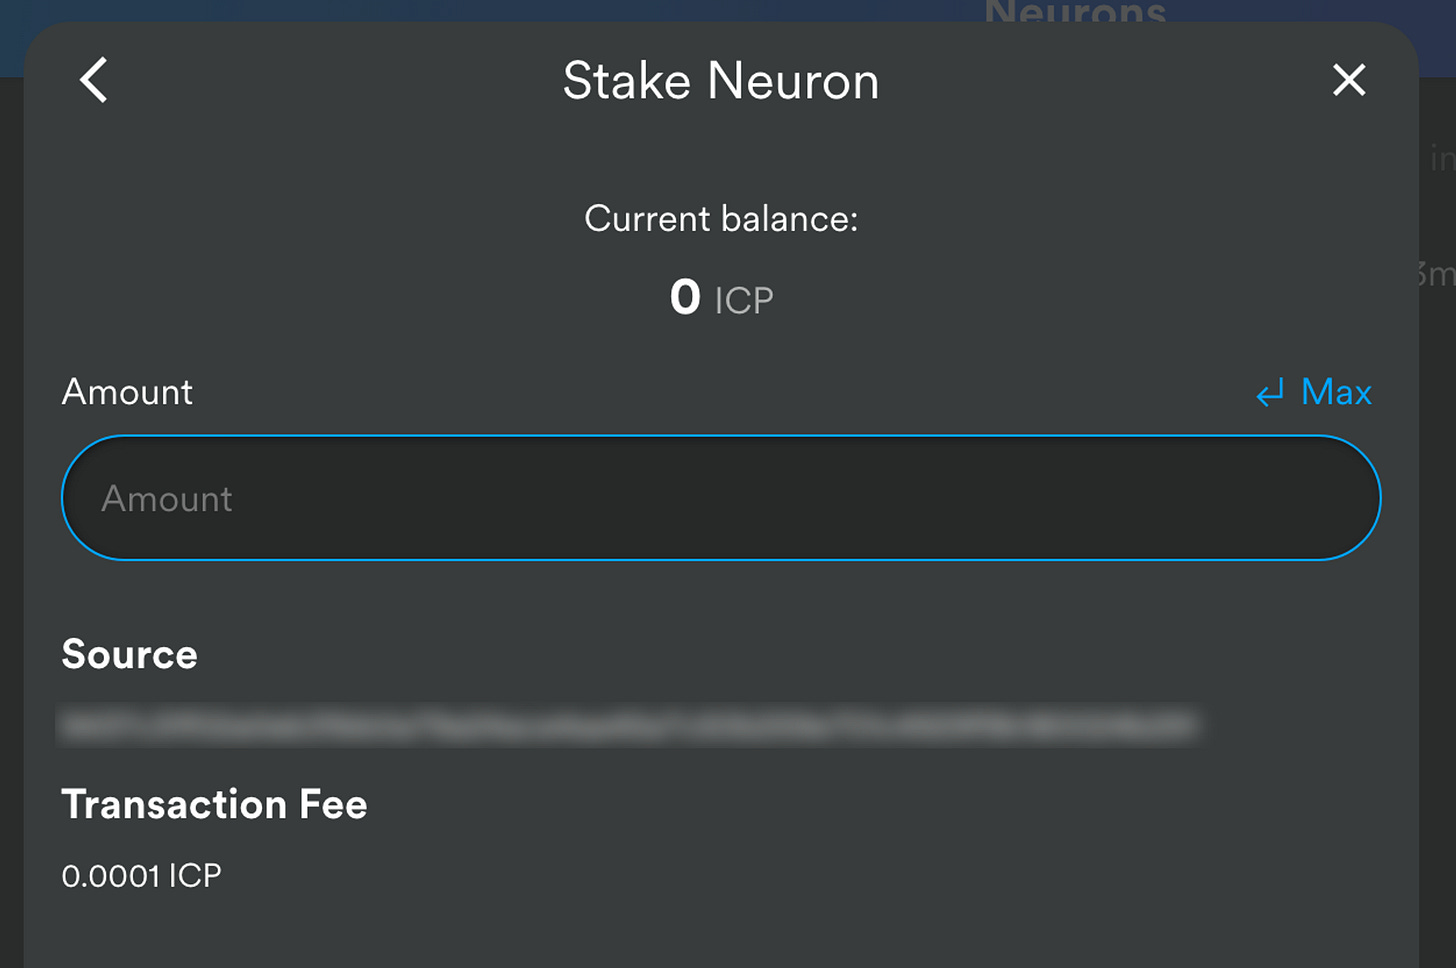
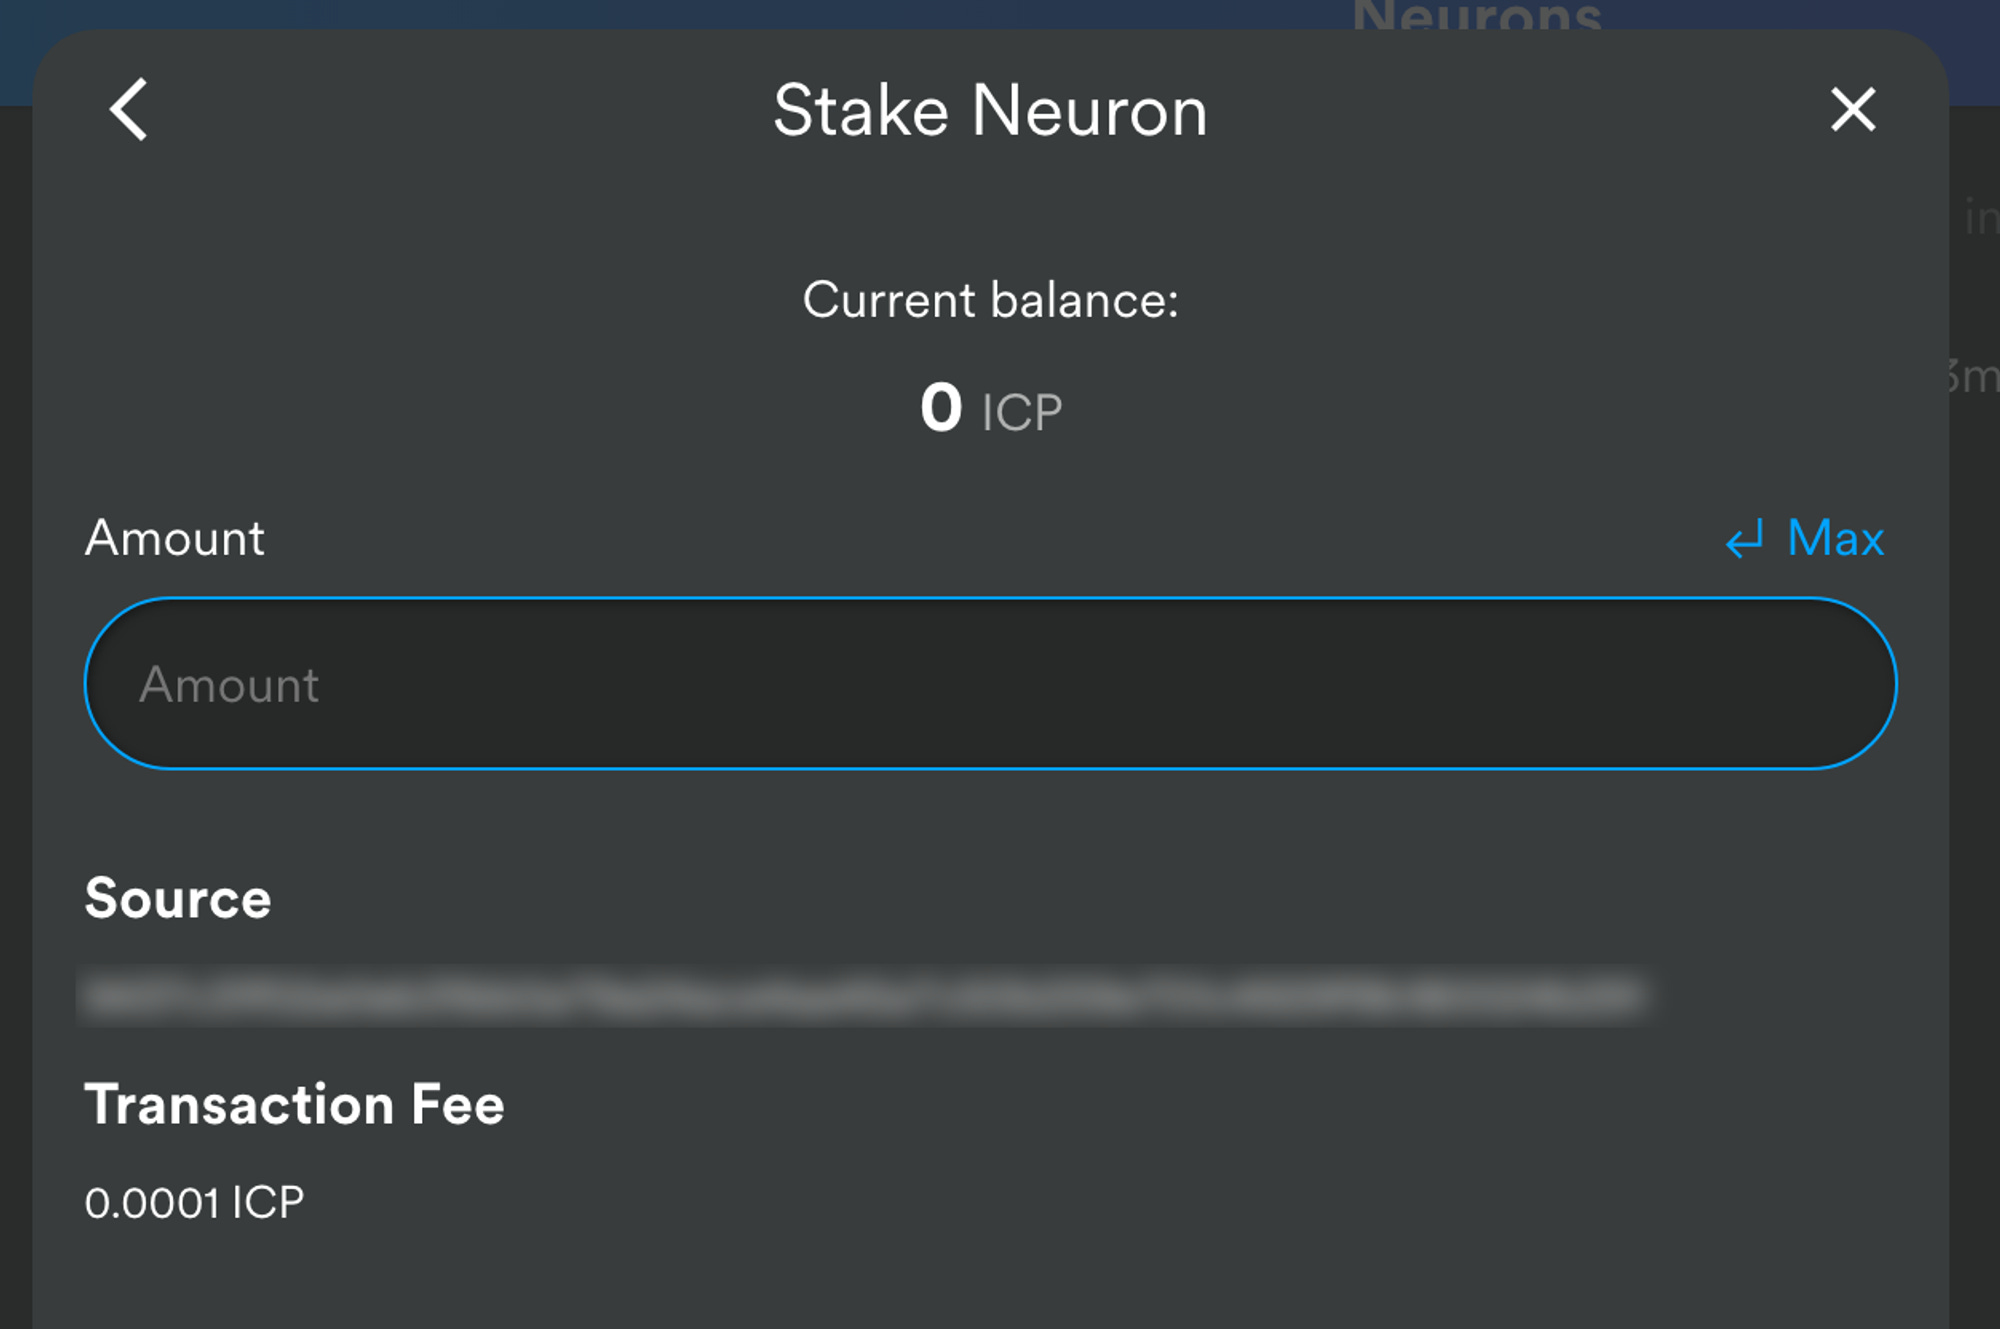
Type the number of ICP utility tokens you want to stake, then click Create. This may take up to a minute.

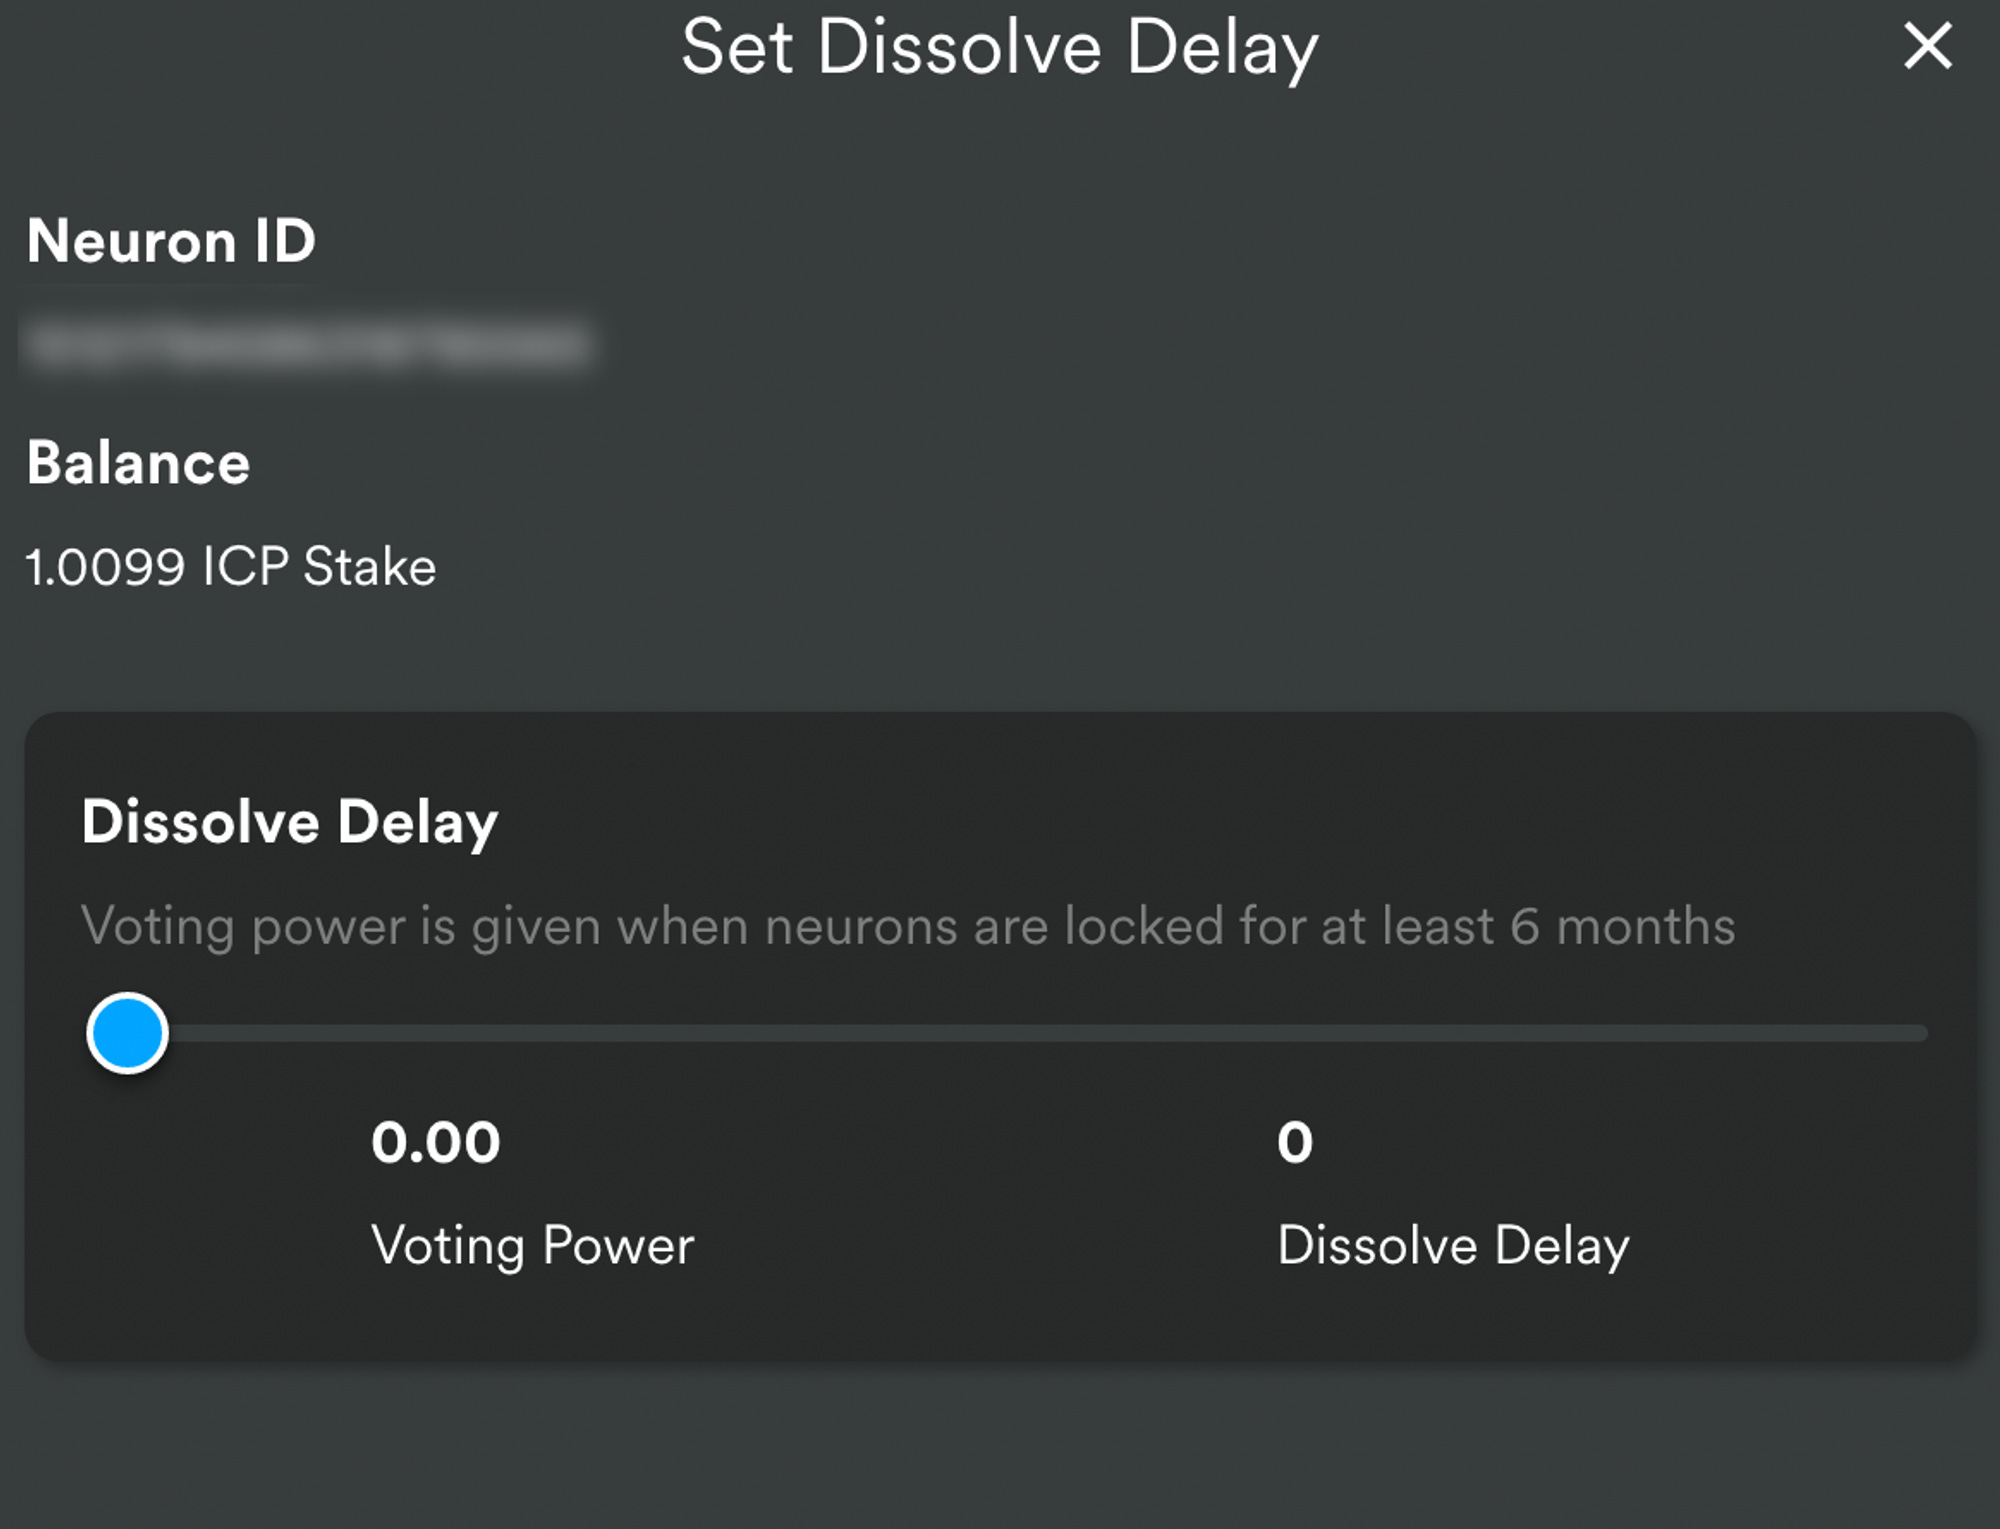
Set the dissolve delay for the neuron to control the length of time the stake is locked, then click Set Delay. The longer your stake is locked, the more voting power & rewards you will receive.

Confirm and set your Delay

To calculate your returns on your staked ICP, check out this page! Note: You are required to vote in order to receive staking rewards, but the process of voting on proposals can be automated (see below).
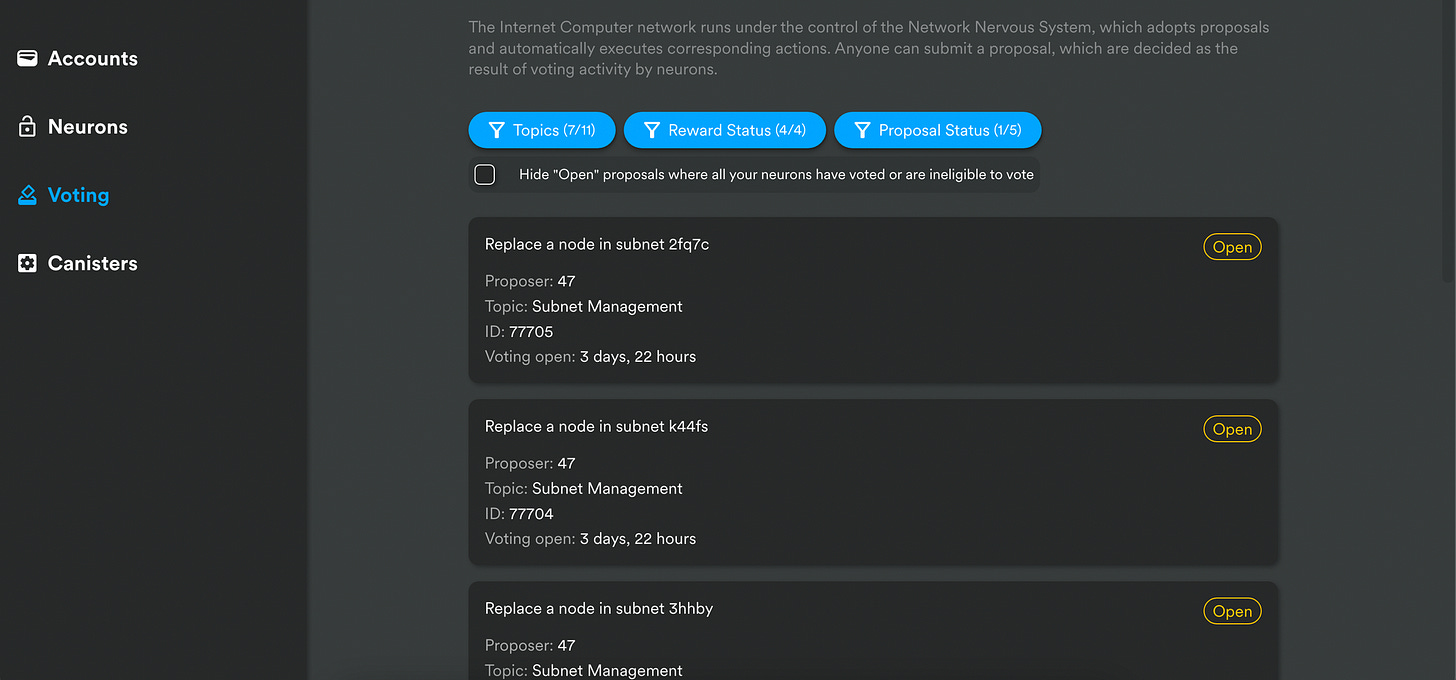
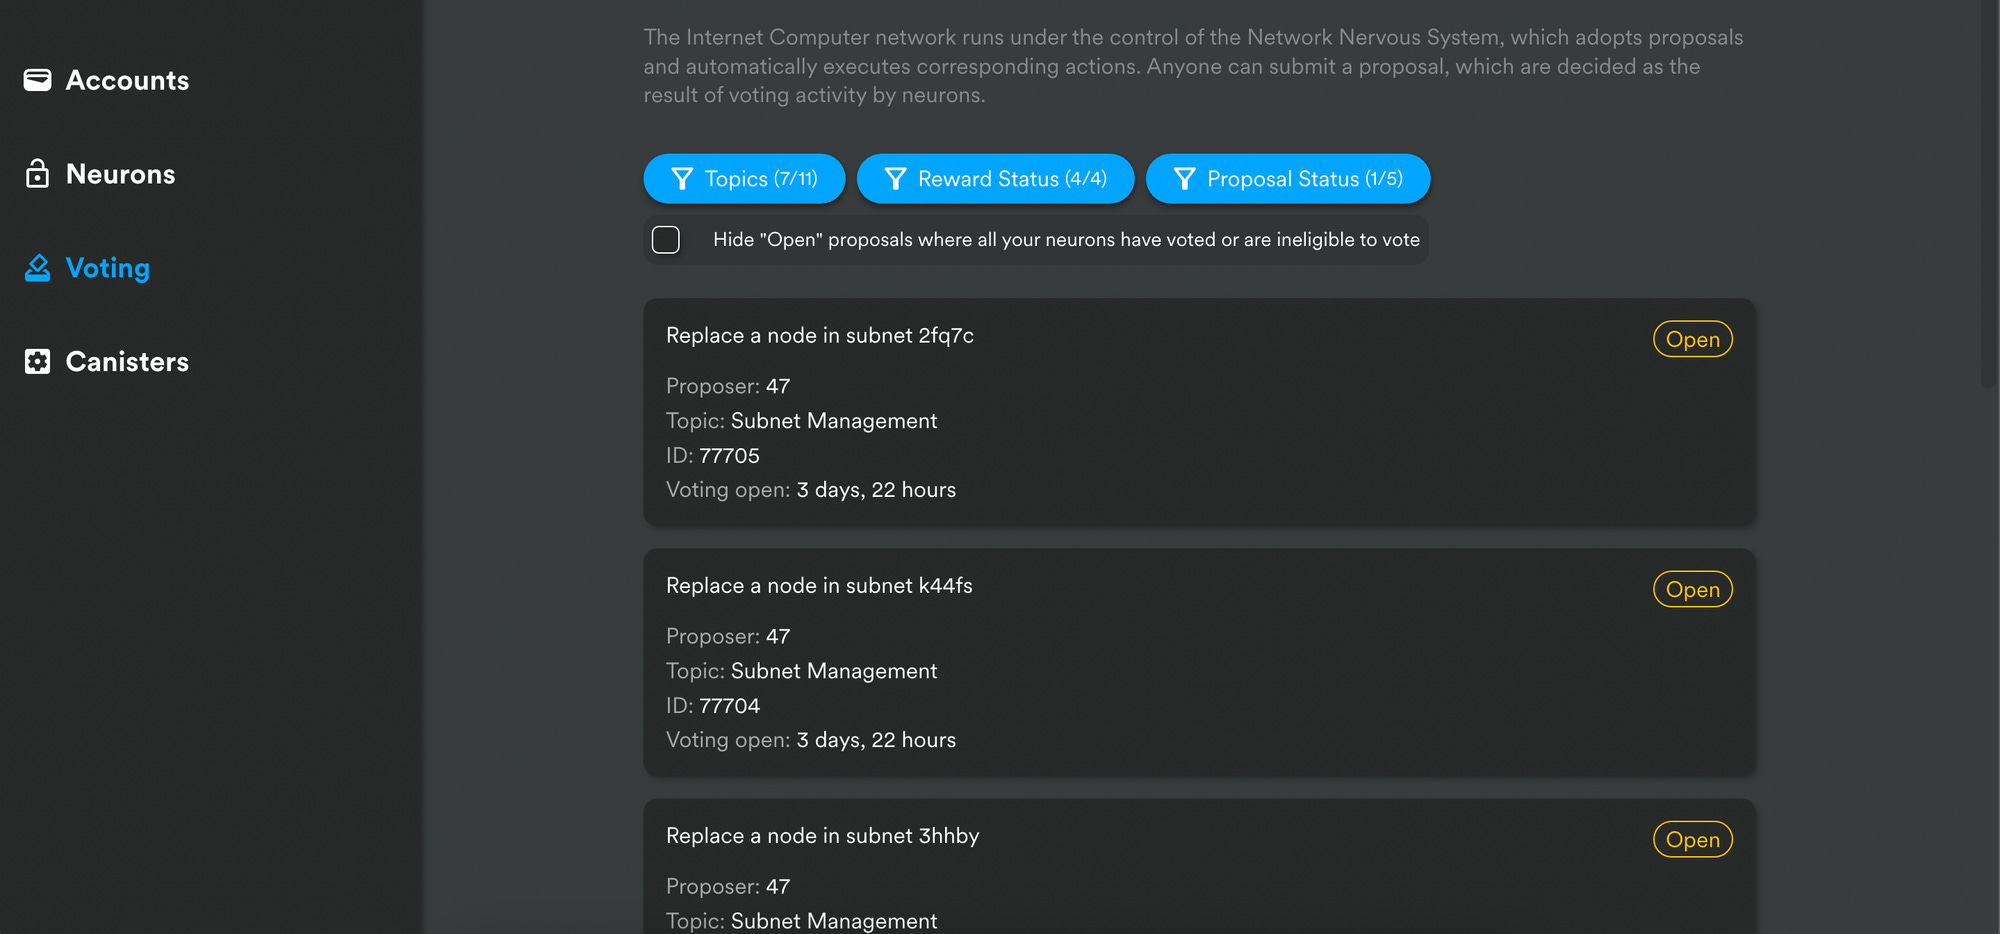
Voting

In the Voting tab
Use the Topics, Reward Status, and Proposal Status filters to control the list of proposals that will be displayed to you
Choose any open proposal to see its details and the voting power for the neurons associated with your identity.
Select the neuron identifiers with voting power that you want to use to cast your vote.
Click Adopt or Reject to cast your vote.
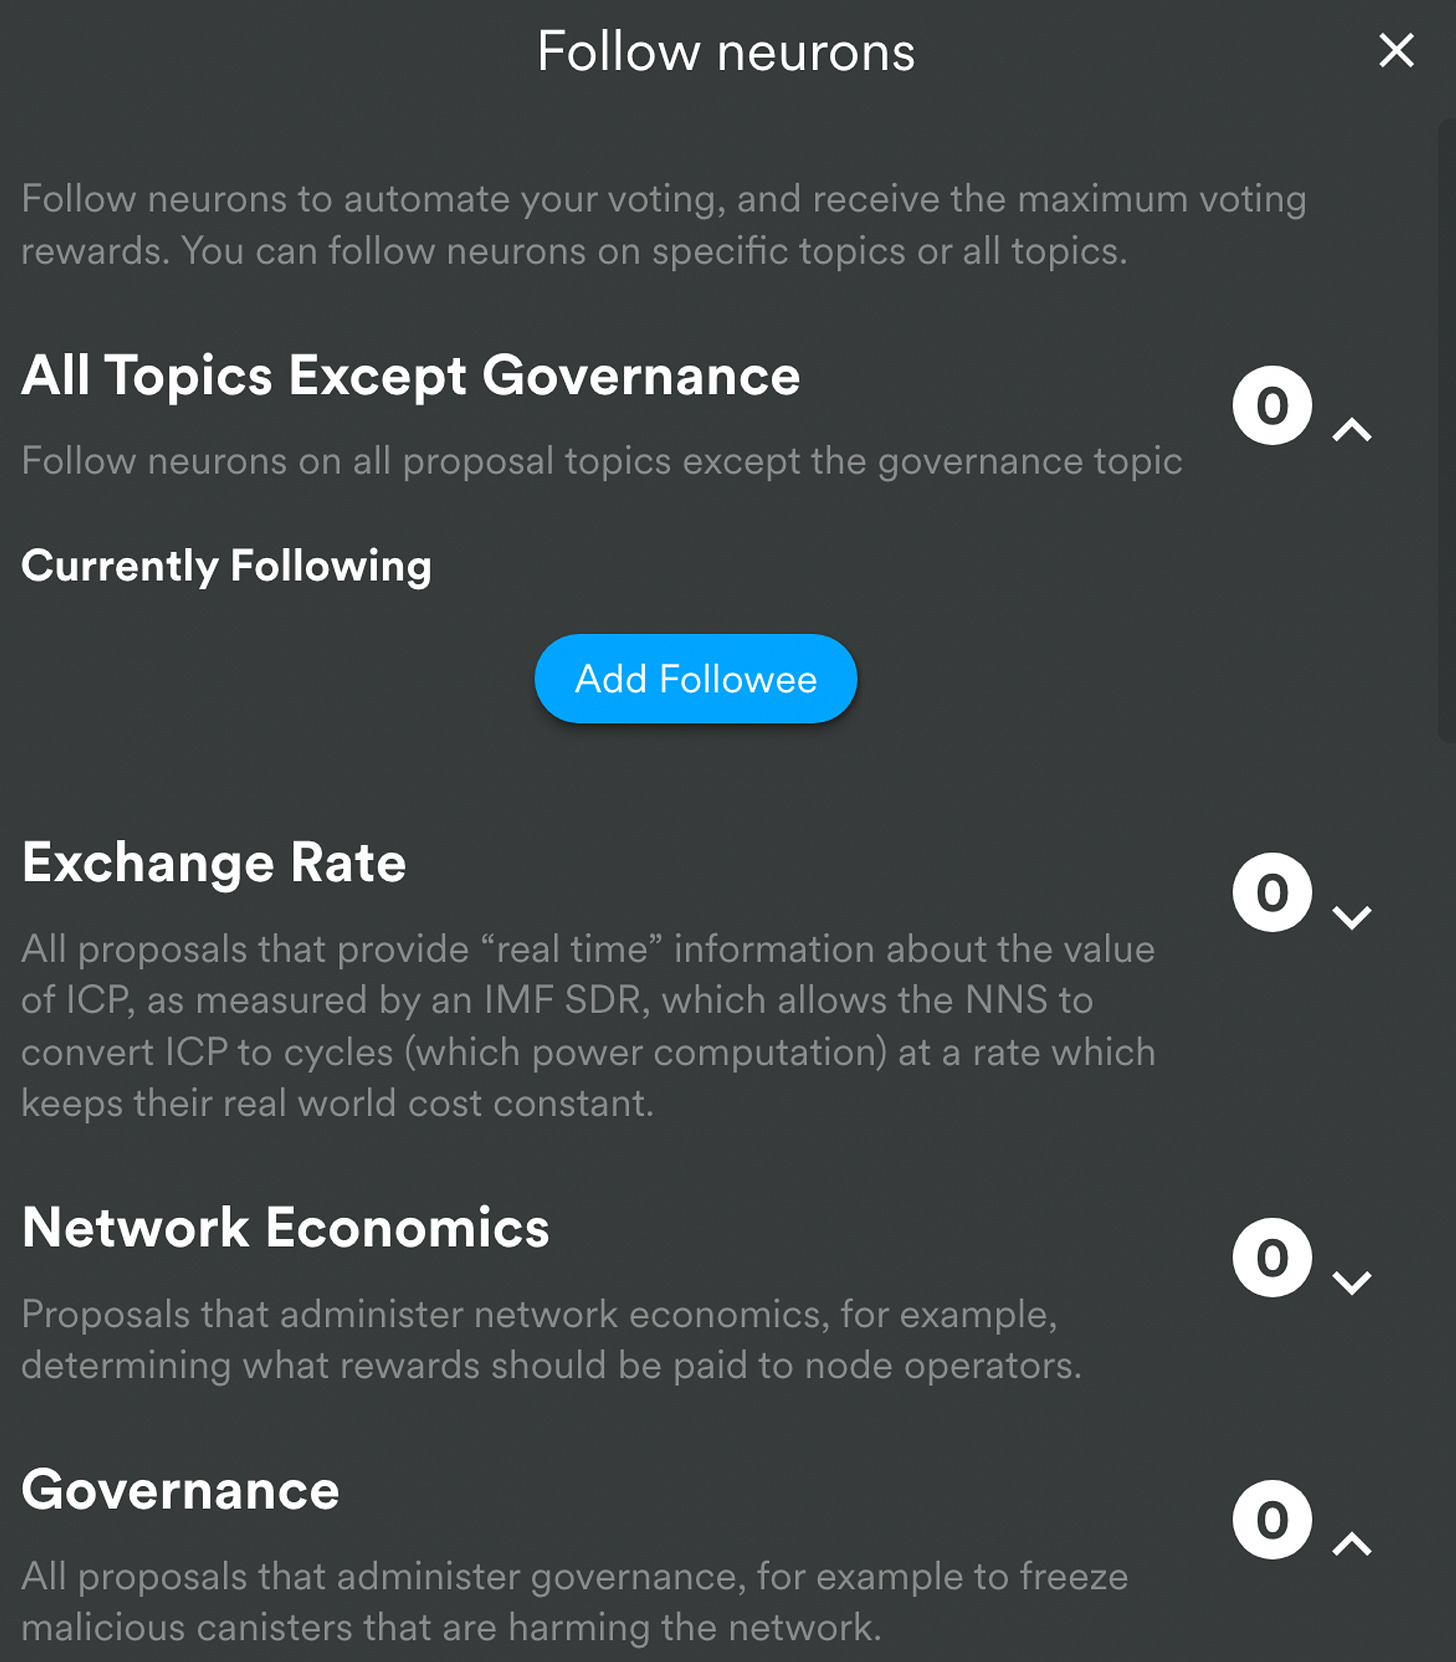
Automate your Voting
You can follow other neurons on specific topics or all topics to automate your voting, and receive the maximum voting rewards.
In the Neurons tab, choose your Neuron
Scroll down and click on “Following”
Add Followees to all the Topics you want to automate.

Canisters
The canister tab is for developers to create and manage their canisters (a form of smart contracts) and cycles consumption. Read more about deploying canisters via the NNS here.

Integrating your Ledger Nano Hardware Wallet with the NNS
Install Ledger Live.
Under “Manager” search for Internet Computer in the App Catalog and install it
Go to the NNS
In the Account tab, click “Add Account”
Choose “Attach Hardware Wallet” and give it a name
Click on “Connect to Wallet”
Your Ledger wallet needs to be connected to your computer, unlocked, and the Ledger Internet Computer (ICP) app should be open on the wallet.
Click Connect Wallet, and choose your Nano in the pop-up window
Verify your hardware wallet information, and click “Attach Wallet”.
Congrats, you have integrated your ledger with the NNS!
The NNS allows the Internet Computer blockchain to be able to update itself and evolve and manage its network in real time. It lets you manage ICP tokens, stake them in neurons to participate in governance and earn rewards, and create cycles. It is vital to understand how it works and can be quite rewarding if used correctly!
📝 All the opinions are my own and do not constitute financial advice in any way whatsoever. Nothing published by the site or the services constitutes an investment recommendation, nor should any data or content published be relied upon for any investment activities.